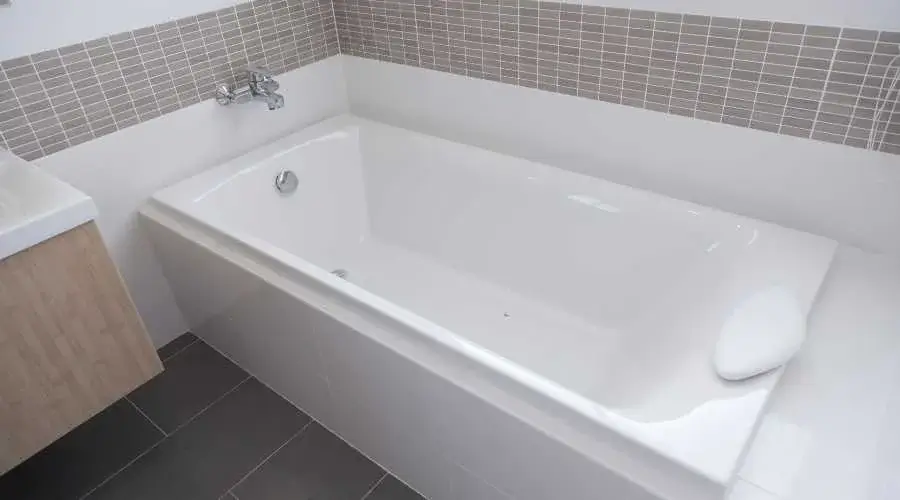
Most individuals prefer tub reglazing over purchasing a whole new bathtub. Why? For this reason that a skillfully done bathtub refinishing procedure might make a tub seem brand new. Additionally, using this technique, your clients may keep their bathtub in place without replacing the existing flooring, tiling, fittings, or anything else. The surrounding surfaces are left in place and covered with masking tape while the work is done.
There are several considerations to contemplate while refurbishing a bathtub. In the sections below, we’ll go over seven. You may take easy measures to make sure that your next tub reglazing project is a huge success.
Step 1: Prepare Your Workspace
Before commencing your bathtub repair project, ensure your workspace is properly set up. You must cover any adjacent surfaces and follow all necessary safety precautions. To ensure proper ventilation, turn on the bathroom fan, open a window, and utilize an industrial fan to exhaust the air from the space outdoors.
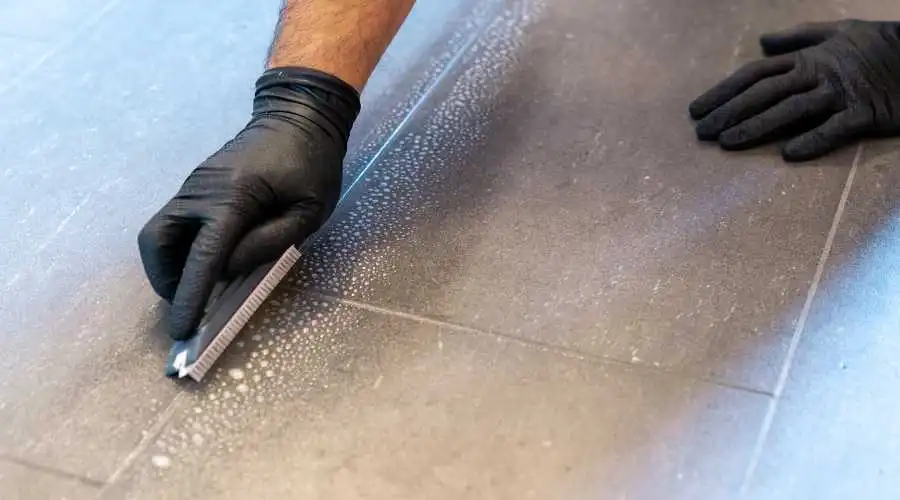
Step 2: Remove Caulk
It is best to remove the overflow plate above the tub drain first. Next, use a utility knife to cut the caulk where it connects to the surround. As the caulk separates, use a putty knife to remove it delicately. (Don’t worry if black marks appear throughout this process; they could be removed afterward.)
Note: If the caulk you’re removing contains silicone, you must use a silicone digester to remove the remaining silicone. The reglazing work on the tub will be recovered if you do.
Step 3: Clean the Bathtub Thoroughly
Before being refinished, a tub must be thoroughly cleaned. First, scrub it with a scouring pad and powder. Using a razor scraper is an excellent method of removing soap scum from surfaces. Look at the area under the soap dish since debris will probably gather there. Finally, because the drain is where tub reglazing failures occur, pay close attention to it.
Step 4: Repair Any Damage
Before completion, a bathtub’s surface has to be perfectly smooth. Therefore, any cracks, chips or other damage must be corrected beforehand. To do this, line the bottom of the tub with masking paper and then apply filler over the defects with a putty knife. Make sure the filling is completely dry before sanding. This operation will need to be repeated several times to get the desired outcome.
Step 5: Sand the Tub
When the tub has completely dried, the surface has to be sanded. The cover may be manually sanded with 120-grit sandpaper and an electric orbital sander. Throughout this time, you must wear your respirator. After filling the whole tub, wipe away the dust and debris with a wet towel. Take care to wipe away from the drain and in the direction of the tub’s back. The last step is to apply lacquer thinner or a detailing product.
Step 6: Apply Masking Tape
The next step is to cover the tub’s tile and surrounding floors with masking tape. Additionally, tape has to be applied on the drain (clip any excess so it doesn’t obscure the glass). Cover the faucet and showerhead with a rubber glove or other suitable barrier to prevent drips from damaging the tub reglazing process.
Step 7: Apply Tub Reglazing Product
You are ready to glaze the artwork after you have finished steps one through six. Read the instructions thoroughly since each bathtub refinishing product is different. After the tub has dried for several hours, the masking may be removed. However, take care to complete it slowly. If not, dust could fall and stick to the tub’s surface. After 24 hours, repaint the bathtub with caulk. At the 48-hour mark, you may complete the project by replacing the overflow cover.
To learn more about expert bathtub refinishing, click here.
To hone your tub reglazing skills, Hockessin Tub Reglazing offers all the tools you want, including workshops on bathtub refinishing. To learn more, get in touch with us at any time.